In today’s competitive manufacturing environment, plastic injection moulding companies face constant pressure to deliver high-quality parts on time and within budget. Even small defects in the moulding process can lead to rejected parts, production delays, increased scrap rates, and ultimately thousands in lost revenue from rework, tooling damage, or customer returns. Many moulders initially rely on trial-and-error adjustments or basic process tweaks to address issues, but understanding the root causes of common defects—and implementing targeted fixes—can dramatically improve efficiency, reduce waste, and boost profitability.
In this blog post, we will explore 5 common injection moulding defects, their typical causes, and practical ways to fix them before they escalate into costly problems.
The Current Challenges
Injection moulding defects often arise from a combination of material behaviour, machine settings, mould design, and process parameters. When left unaddressed, these issues create:
- High scrap rates – Defective parts that can’t be sold or require rework.
- Downtime – Time spent troubleshooting and adjusting instead of producing.
- Quality inconsistencies – Leading to customer complaints or failed inspections.
- Increased costs – From wasted material, energy, labour, and potential tool repairs.
- Missed deadlines – Delaying shipments and damaging client relationships.
By proactively identifying and correcting these defects, moulders can achieve more consistent results and scale operations effectively.
5 Common Injection Moulding Defects and How to Fix Them
1. Flow Lines
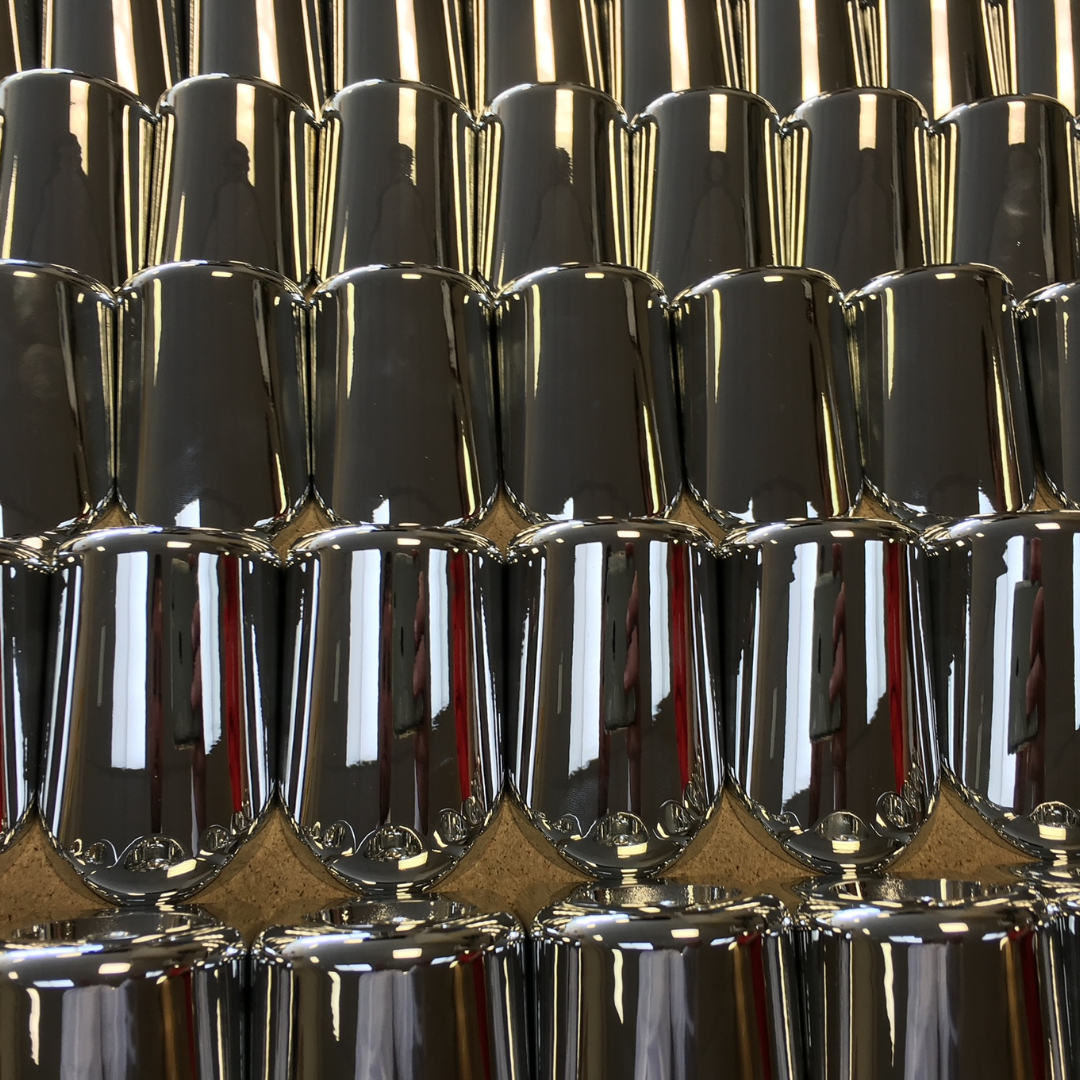
Flow lines (also called flow marks) appear as visible streaks, waves, or patterns on the surface of the part, often in off-colour bands where the molten plastic has flowed at varying speeds or cooled unevenly.
Common Causes:
- Variations in material flow speed and cooling rates.
- Low melt or mould temperature.
- Fast injection speed or narrow gates/sections that cause turbulence.
How to Fix It:
- Increase melt temperature slightly to improve flow.
- Raise mould temperature for more uniform cooling.
- Optimise injection speed – slow it down in critical areas or use a profiled speed profile.
- Ensure consistent wall thickness in part design to avoid abrupt flow changes. Implementing these adjustments can eliminate surface imperfections and enhance part aesthetics without major tooling changes.
2. Sink Marks
Sink marks are depressions, dents, or craters that form on the surface, typically in thicker sections or near ribs/bosses, as the part cools and shrinks unevenly.
Common Causes:
- Insufficient packing/holding pressure or time.
- Excessive material shrinkage in thick areas.
- Non-uniform wall thickness or inadequate cooling.
How to Fix It:
- Increase holding pressure and extend hold time to pack more material before the gate freezes.
- Improve cooling uniformity by adjusting coolant channels or mould temperature.
- Redesign parts for more consistent wall thickness (ideally 2-4mm max variation).
- Use materials with lower shrinkage rates if design changes aren’t feasible. These steps reduce internal voids and surface defects, preventing costly cosmetic rejects.
3. Short Shots
Short shots occur when the mould cavity isn’t fully filled, resulting in incomplete parts with missing sections or thin edges.
Common Causes:
- Insufficient injection pressure or volume.
- Material cooling too quickly (low melt temperature or fast flow).
- Blocked gates, vents, or restricted runners.
- Air traps or poor venting.
How to Fix It:
- Increase shot size/volume or injection pressure.
- Raise melt and mould temperatures to keep material fluid longer.
- Clean vents, runners, and gates to remove obstructions.
- Improve venting design in the mould for better air escape. Addressing short shots early minimises scrap and ensures complete, functional parts every cycle.
4. Flash (Burrs or Excess Material)
Flash is thin, excess plastic that seeps out along the parting line, ejector pins, or vents, creating unwanted burrs that require trimming.
Common Causes:
- Excessive injection or holding pressure.
- Insufficient clamping force.
- Worn or damaged mould surfaces/parting lines.
- Debris or misalignment in the mould.
How to Fix It:
- Reduce packing/holding pressure or shot size.
- Increase clamp tonnage to better seal the mould.
- Inspect and repair/clean the mould part time.
How to Fix It:
- Improve venting to allow trapped air to escape freely.
- Reduce injection speed to minimise air compression.
- Lower melt temperature or shorten residence time in the barrel.
- Purge the machine and clean hot runners/nozzles regularly. Fixing burn marks preserves material integrity and avoids cosmetic or structural failures.
Key Takeaways for Moulders
These five defects – flow lines, sink marks, short shots, flash, and burn marks – are among the most frequent issues in injection moulding, but they’re also highly preventable with systematic troubleshooting. Start by monitoring process parameters closely, maintaining moulds rigorously, and collaborating with material suppliers for optimal settings.
By addressing these problems proactively, small to medium-sized moulding operations can significantly cut scrap, reduce downtime, improve part quality, and protect their bottom line – potentially saving thousands in avoidable costs.
If you’re dealing with persistent defects or looking to optimise your process, reach out to our team for expert advice on mould design, material selection, and parameter tuning.